Reverse-Engineering
Figma • Design • Fashion
Feb 15
Or how I stole a crochet sweater.
And how it costed me more than buying it.
As I mention on my previous post, I’m obsessed with style, and one brand in particular occupies half of my brain at any given time. It’s Farm Rio (again, may the gods grant me my wish that one day they sponsor me). I constantly browse the new collections and save the most beautiful pieces as inspiration. I bet their newsletter open rates are higher because of me.
A few years ago, I saw something that stopped me dead in my scrolling. It was this crochet top—bright, bold colors popping from a lovely cream base. It looked happy, it looked fun—it looked perfect for me.
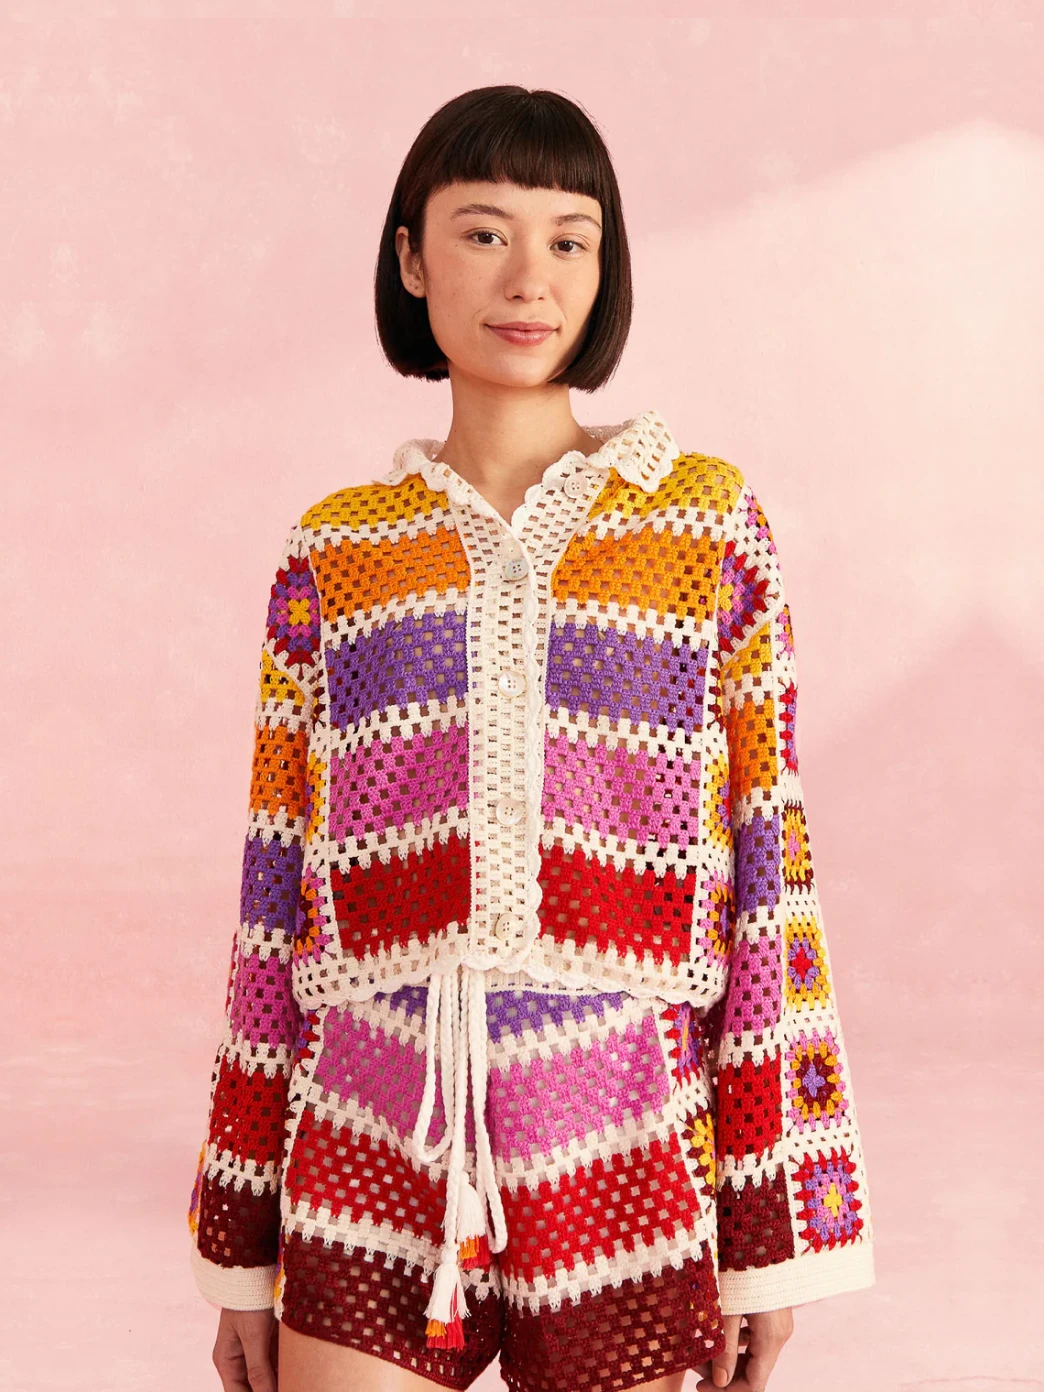
The crochet top from Farm Rio
I imagined myself wearing this. Walking along the
beach on holiday, sunglasses on, big smile.
Having a picnic with my friends in the middle
of a flower field. Sitting in a coffee shop,
wistfully sketching by the window. Strangers paying
half a second of attention to me, perhaps even a
thought.
"Ah, cute sweater."
I desired this. I must have this top.
What stopped me? The price tag.
If you reverse search the image nowadays, you can probably find it sold out on online retailers anywhere between $125 to £225. I recall seeing it for around 200 euros. At the time, I couldn't really justify this expense to my accountant. My accountant is me, by the way. It was either this or saying goodbye to one basic need that month. I chose to eat instead.
But I was not going to be deterred.
What if I made this top myself?
How hard could it be?
Turns out, it was
very hard. Let me walk you through my
reverse-engineering adventure.
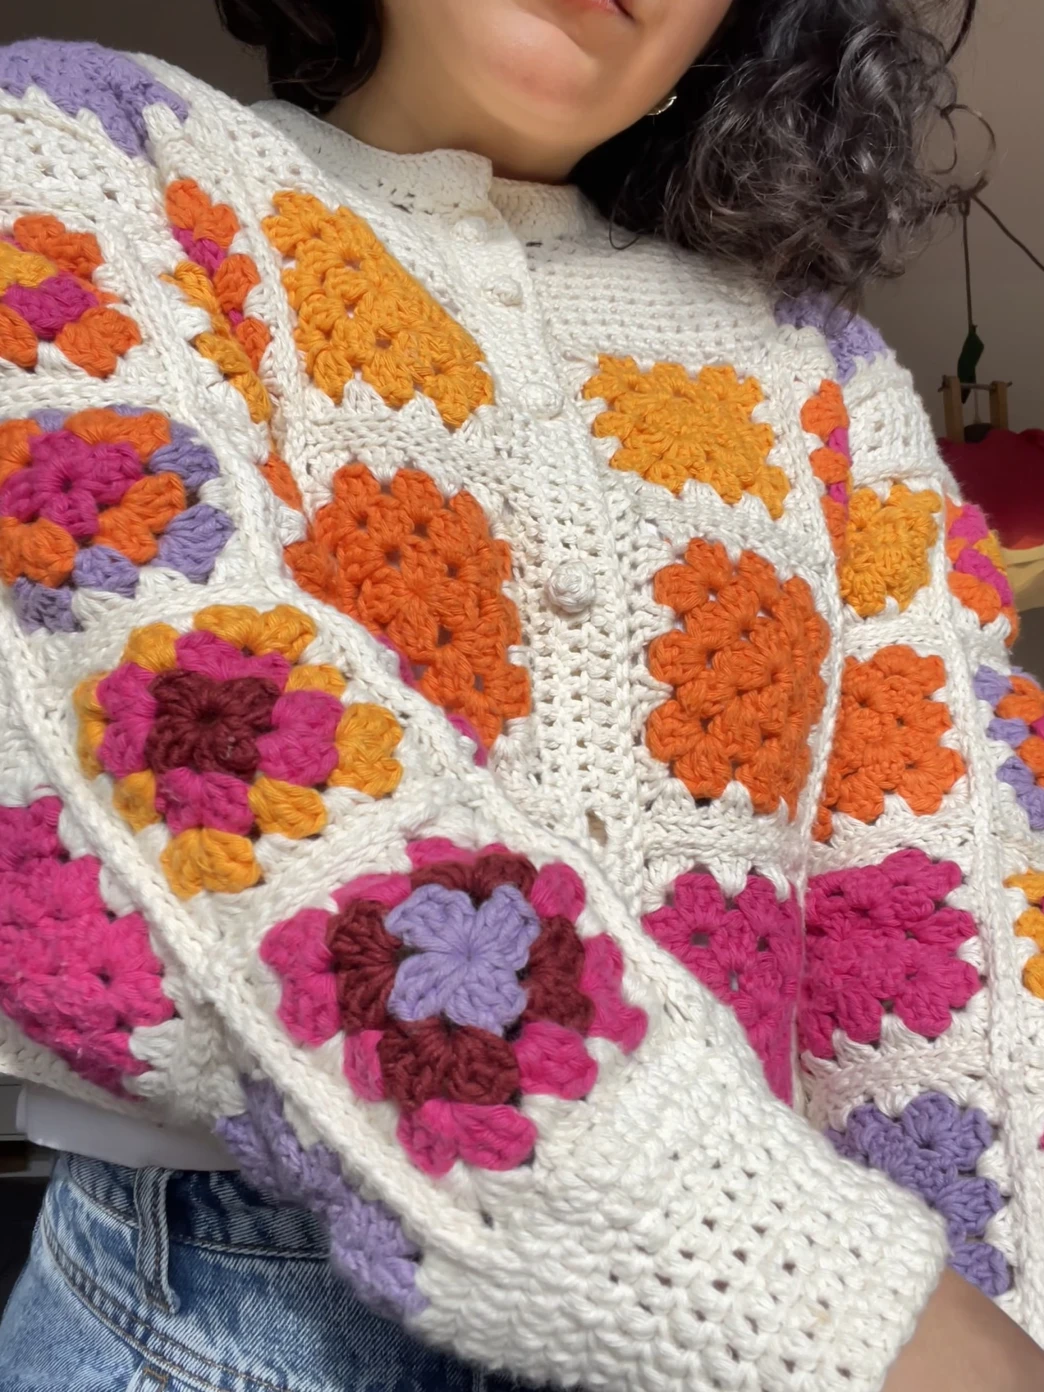
My crochet top (heavily inspired by Farm Rio)
Step 1: Technique
I had recently taught myself how to crochet—a
few small projects, winter socks, a
scarf for my mom, a little devil hat. Tutorials I
could follow on YouTube. My actual knitting is very
slow (as a German older lady once tried to correct me
on the train), but these tutorials were helpful in
getting the hang of the different stitch types I
would need. After some weeks I
knew—theoretically—that I could crochet.
Step 2: OUTLINE
Next, I needed to break down the design into something manageable. I had to trick myself into thinking I could do it, like hiding a pill for a dog in a sausage. I convinced myself to think of the whole piece as just simple geometric shapes—lots of little rectangles and a few curves. I could do that. Right?
I loved the “flowers“ on the design and I assumed these would be the hardest part. So if I could manage those, the other panels would be easy. Medium-hard pill to swallow. After some research, I found out this was called a granny square and found Youtube tutorials to guide me.
With a saved picture of the top on my phone, I headed to the local yarn store to get my materials. In this case, cotton—which I only knew because of the care instructions on the Farm Rio page.
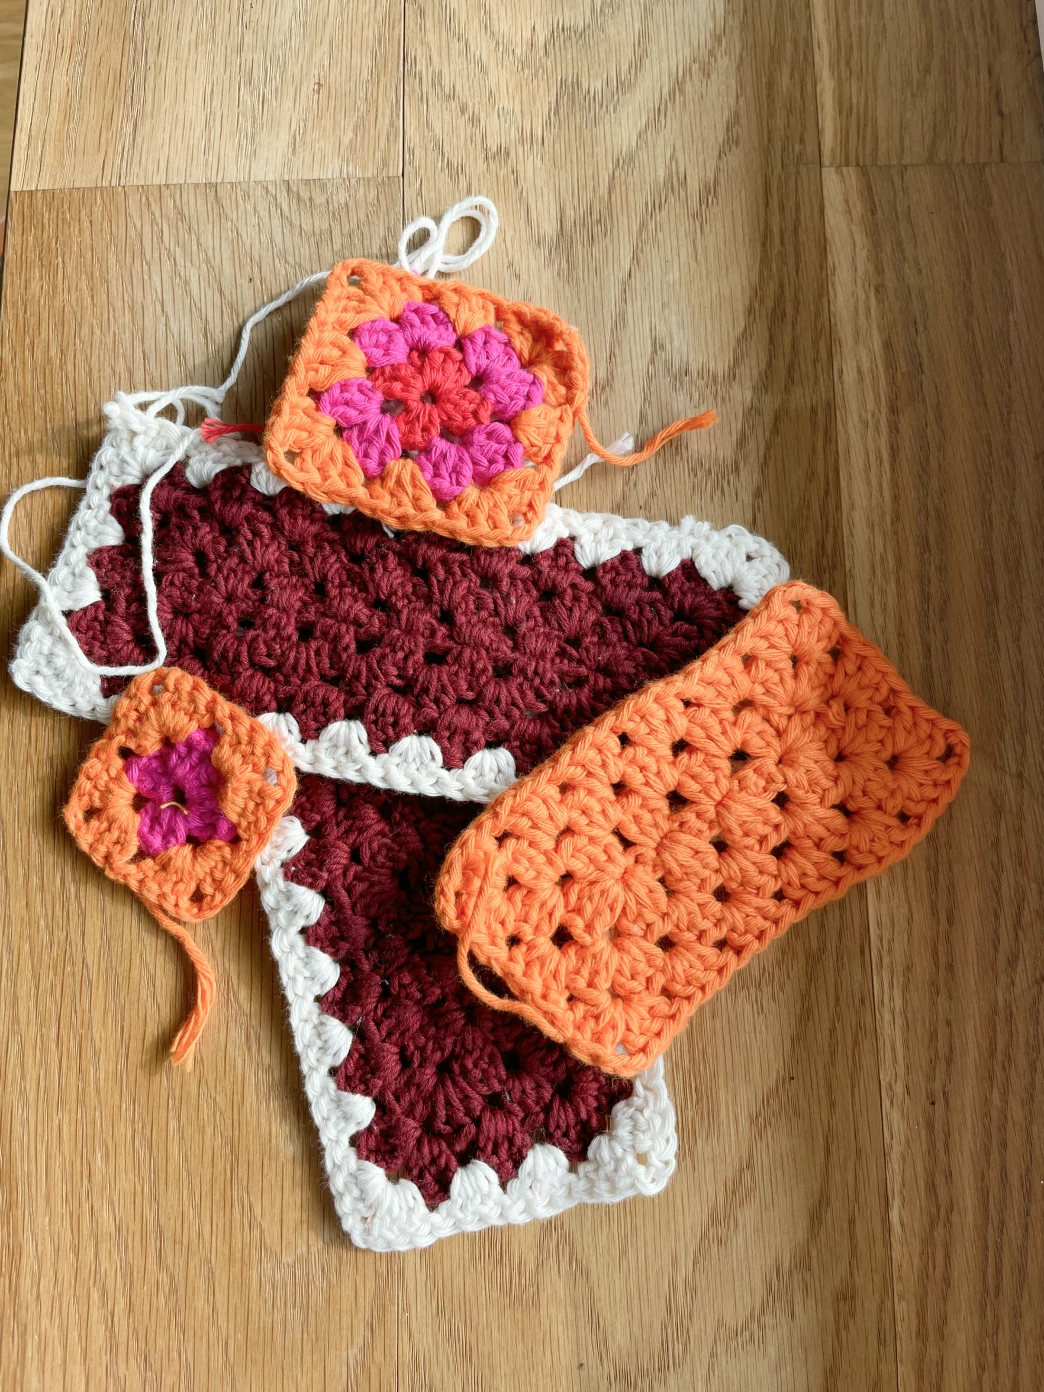
Tests for color combination and panel sizes
Step 3: Experimentation
I played around with different color
combinations. The original design had around
four colors per square (plus the cream border), but
I found the squares got too big, and I wasn’t a fan
of mixing all the colors. Eventually, I
landed on using three colors per square, plus the
cream border that would connect the entire design.
At the end I liked only four specific
color patterns, but I had something. I
had one of the blocks I needed for the design.
Step 4: Planning
Now, I had to figure out how to put it all together. How many squares should I make? How big should the other panels be? How would I connect everything?
I needed to start making some calculations. Crochet has several notation systems for patterns—written explanations I had seen for large garments or symbols that outline the final shape which is more common for smaller details. Since I was very new to crochet, I was terrible at both.
But what was I good at? Figma. So I measured my granny squares and translated them to their pixel equivalent. If my square was 9×9 cm in the real world, it would be 90×90 pixels on the computer. I took my measurements and sketched out the other parts, planning the garment in two main sections:
-
The core – essentially a vest.
-
The sleeves – one long rectangle.
The squares would follow the color combinations I had already tested, while the solid panels would vary in size depending on the fit I wanted. This gave me some flexibility to make the top more tailored to my body. With this plan in place, I noted down how many of each rectangle or square I would need and got to work.
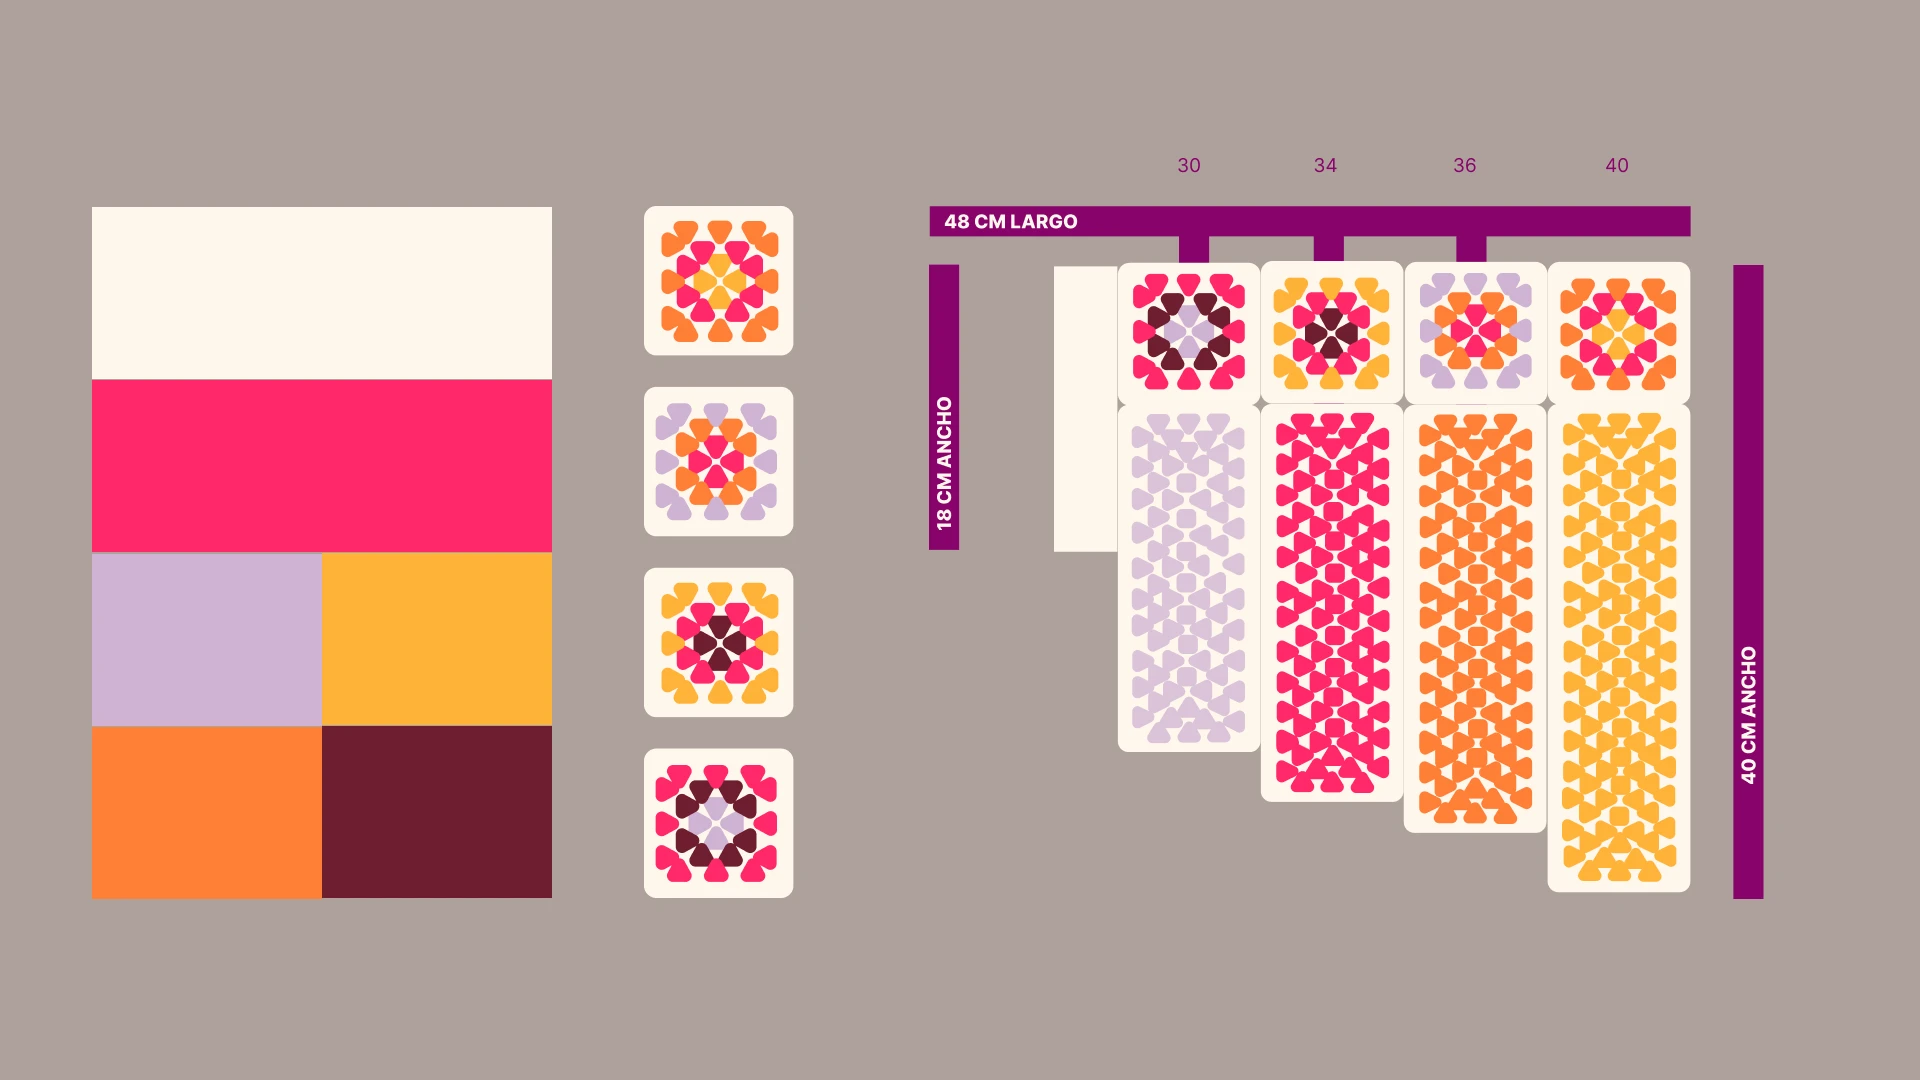
Color palette and sleeve pattern
Step 5: Prototyping
Does it sound like I was breezing through the
project? Well, no. I could also call this step
failing. This step took the longest
and it was the most frustrating one. But there was
no way out except through.
With
crochet, it can be particularly
frustrating that you can’t
adjust sizing once you’ve finished knitting a
section. This happened several times. I would think
the core part was ready, try it on, and realize it
was too big. I tested one sleeve once
it was fully assembled, only to find it was
too small.
I found myself
unraveling hours of work.
The earlier I fix it, the less painful it will
be,
I told myself before breaking down stitches I had so
lovingly crafted.
If I wanted my dream top, I
had to be ruthless. Kill your darlings,
they say.
After almost two months, I finally saw the light. I found the perfect fit by laying my design on top of a jacket that already fit me like a glove. Just try to match it, I told myself. So I adjusted my pattern based on it, and a week later, the vest was ready. Two weeks after that, the sleeves had taken shape. Some darlings had survived.
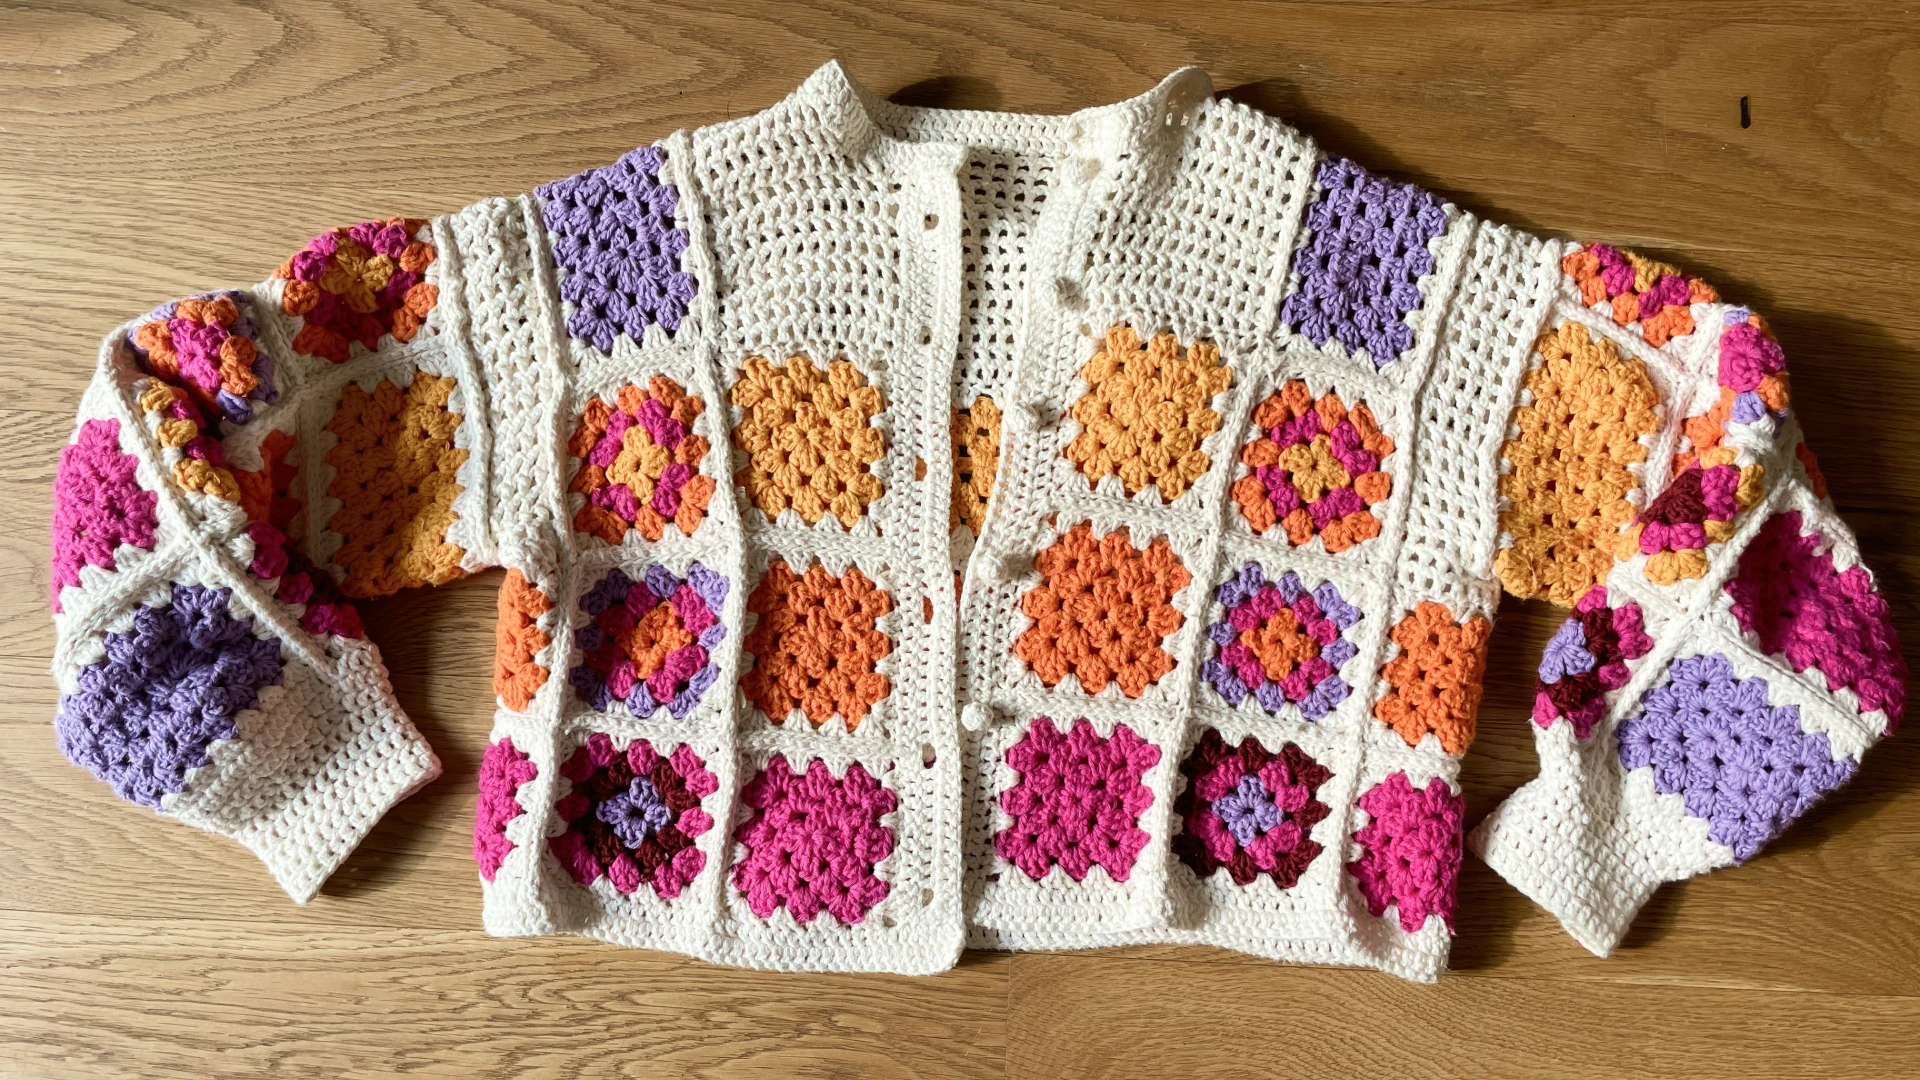
Final result
Step 6: Final Product
The end was in sight—I just needed to
connect everything. I kept using the
jacket as a guide, and since crochet
allows you to create curves by reducing stitch
count, I was able to shape a really nice neckline.
At this point, I was feeling so confident I got a
bit fancy and tried a different
technique to give the fabric a subtle waffle
texture.
I also changed the
sleeve trims so they would be slightly
different from the original design. You can still
tell it’s heavily inspired, but it
feels more me. By the end, I was such
a master at crochet that I even made buttons out of
yarn. After three months of work—every evening spent
on the couch, watching silly reality shows,
knitting the night away like a
spider—I had done it.
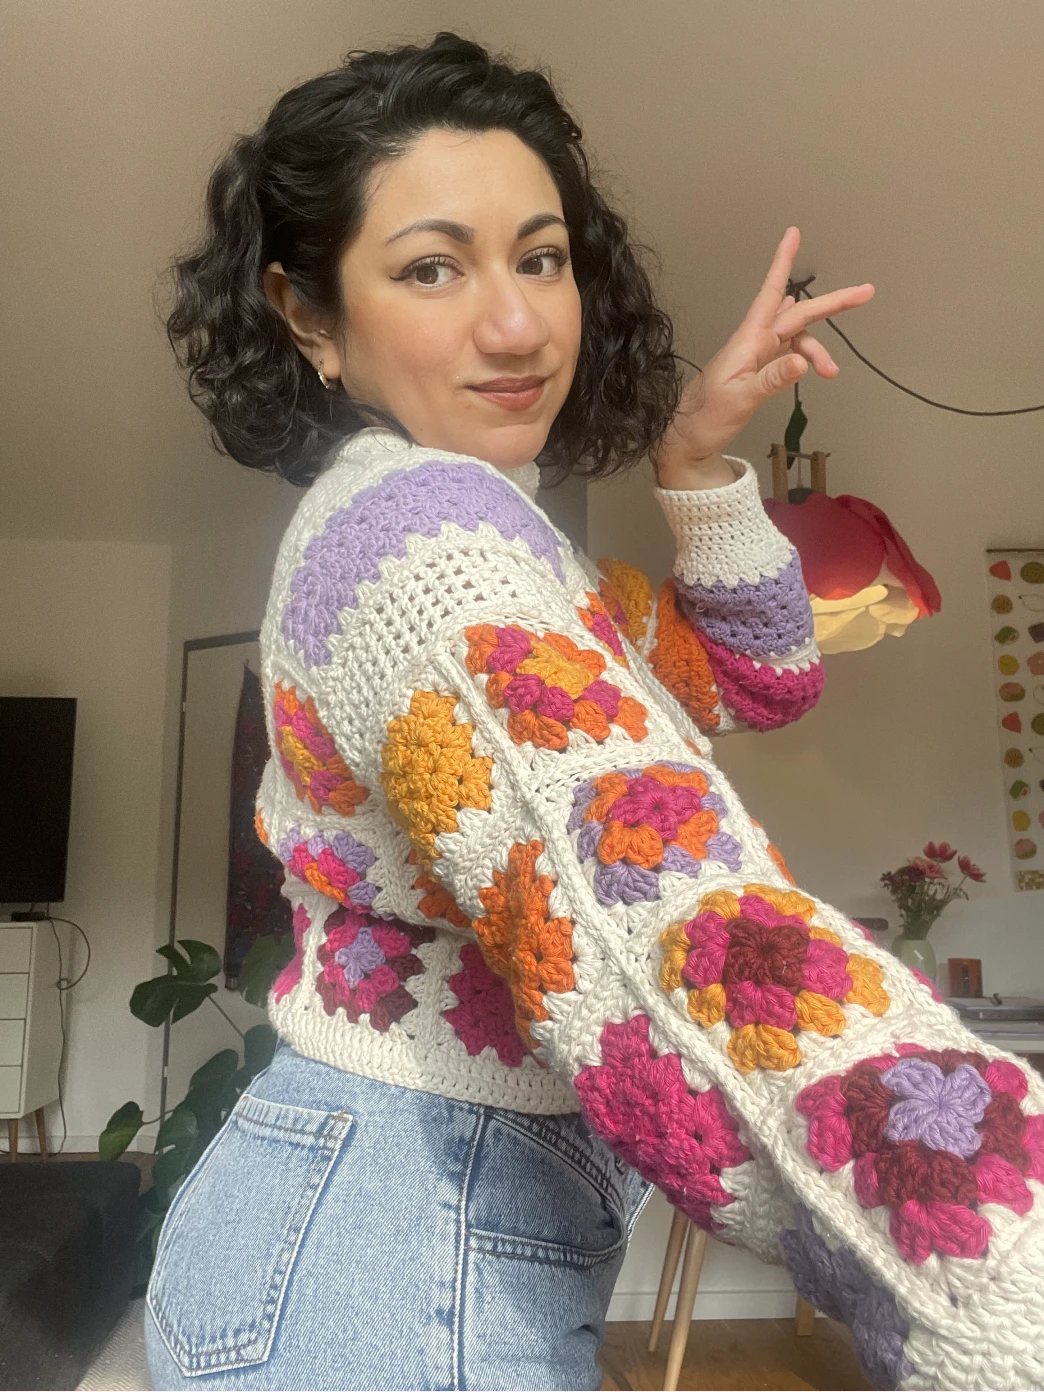
A proud spider
Closing remarks
I was so proud of myself I wore the sweater the very
next day. I hugged this piece—my
precious, my little darling.
I can boast now, but if I ever do this
again, I’d change a few things. A
smarter person would have calculated
costs or at least tracked how much
yarn was needed. This was a passion project
so I spared no expense, I think in the end I spent
~100€ and if I count the hours of work the
price is exorbitant. I also should
have kept better notes, especially at
the end. I was so eager to finish that I skipped
counting stitches, which meant having to redo parts
of the neckline. But let’s just say these are
lessons for future projects. For now,
this spider is content—and my hands need a break.
That’s Enough About Me!
What do you think? What should I focus on next?
Should I try to reverse-engineer some other crochet design? Maybe I can try to do the matching pair of shorts for the perfect summer outfit?
Let me know—shoot me an email! 😊
📩
sifuentesanita@gmail.com